Imagine you’ve just stepped out of your favorite café, and your heart sinks as you realize your bike is gone. Of course, bike theft is a cyclist’s worst nightmare. But what if in this age of technology you had a secret tool that would allow you to track your bike with one click, as easily as you can track phone number free of charge to protect and secure somebody?
Good news—you are able to do this! With some tech-savviness and a dash of creativity, you can build a hidden GPS tracker for your bike. Studying this DIY guide will help you to create your own covert tracking device to gain a peace of mind every time you lock up your bike.
Why a Hidden GPS Tracker? Bike thieves are getting smarter, but so can you! A hidden GPS tracker is your secret weapon. Unlike visible locks and alarms, a concealed tracker won’t tip off thieves, giving you the upper hand in recovering your stolen bike. Plus, there’s something incredibly satisfying about knowing you’ve built this security system yourself.
What You'll Need
To get started, you'll need a few key components. Don't worry, you don’t have to be a mad scientist or an engineering genius to make this happen. All you need is to buy something. Here’s the shopping list:
Mini GPS Tracker: You can find small, budget-friendly GPS trackers online. Look for one with real-time tracking, good battery life, and a small form factor.
SIM Card: Most GPS trackers require a SIM card for data connectivity. Opt for a prepaid data plan or a low-cost mobile network provider.
Battery Pack: Depending on your tracker’s power needs, you’ll need a compatible battery pack that offers long-lasting charge without adding bulk.
Waterproof Case: To keep your tracker safe from the elements, get a waterproof case or repurpose a weather-resistant bike accessory to hide it in.
Double-Sided Tape or Velcro Strips: For attaching the GPS tracker securely to your bike.
A Solar Charger (optional element): If you’re into gadgets, a solar charger could help keep your tracker powered indefinitely!
Step-by-Step Instructions
Step 1: Set Up the GPS Tracker
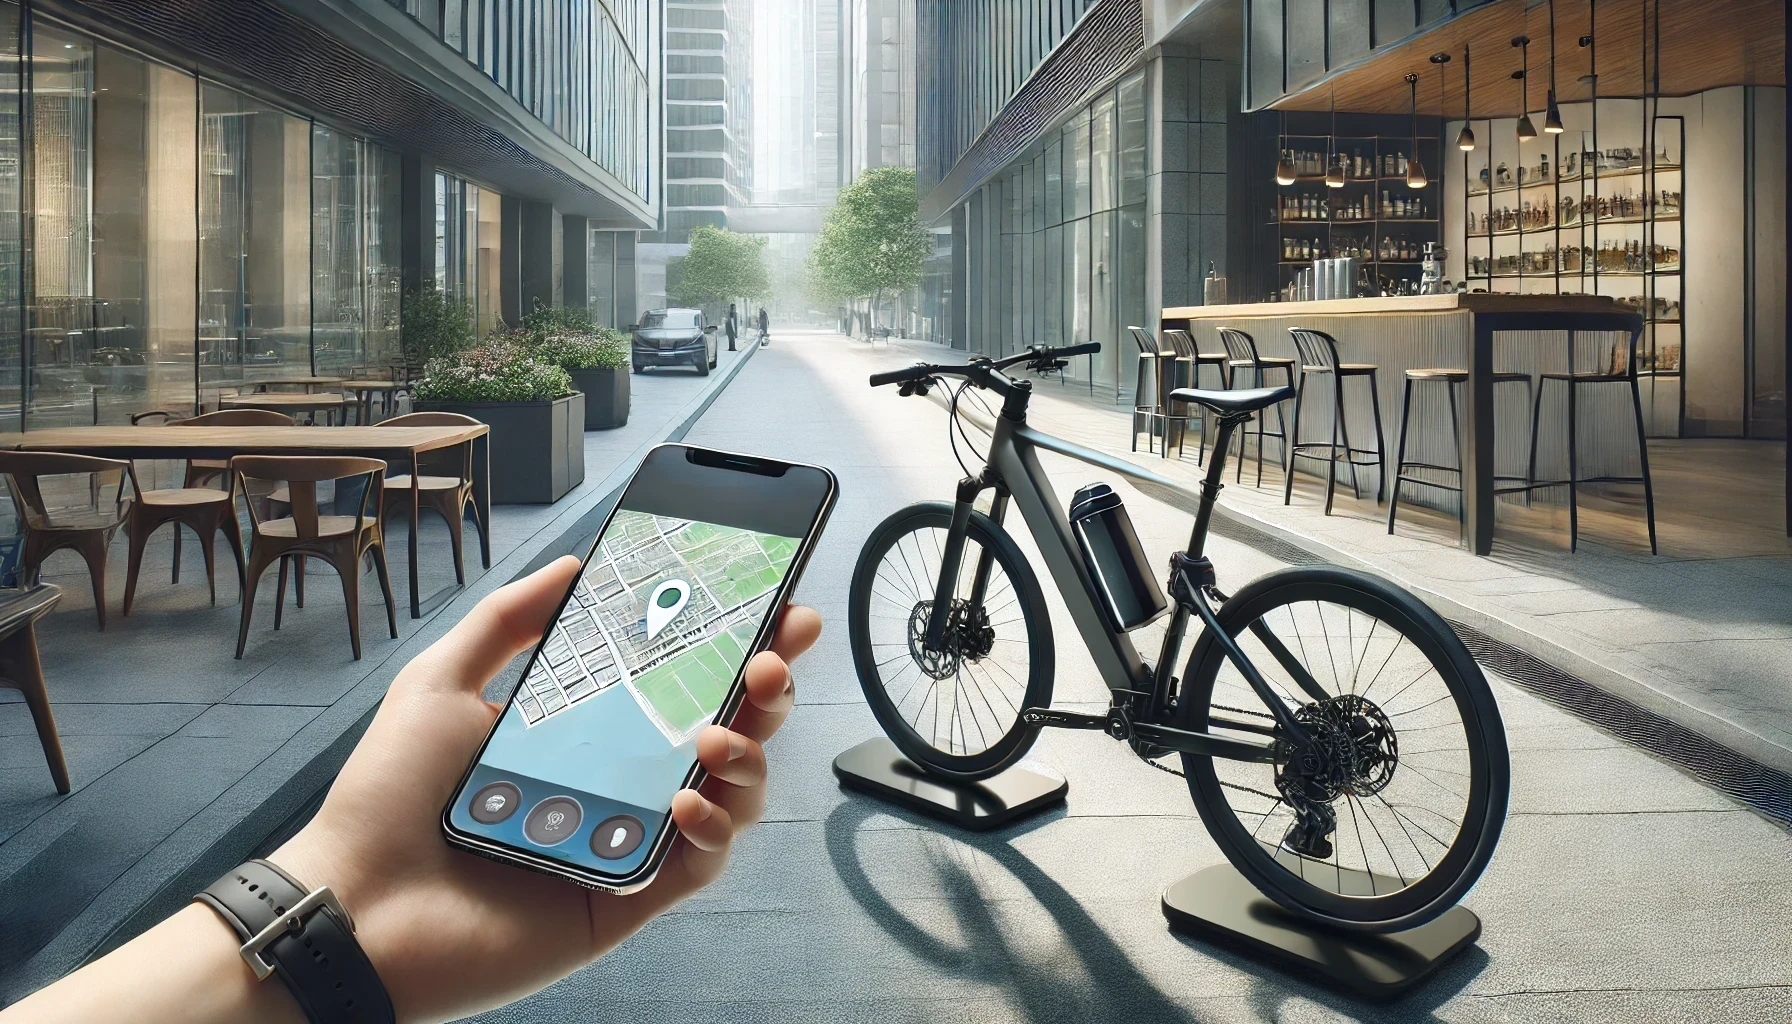
Before you start installing anything on your bike, get your GPS tracker up and running. Follow the manufacturer’s instructions to insert the SIM card and activate and set up the device. Most trackers come with an app that allows you to monitor the bike’s location directly from your smartphone.
Make sure you test it before installation. Walk around with it and make sure the app is tracking your movements accurately. Once you’ve confirmed that it’s working, you’re ready for the next step.
Step 2: Choose a Clever Hiding Spot
The key to success is stealth. You don’t want the GPS tracker to be obvious—otherwise, thieves could easily remove it. Below you can find some ideas for hidden placements.
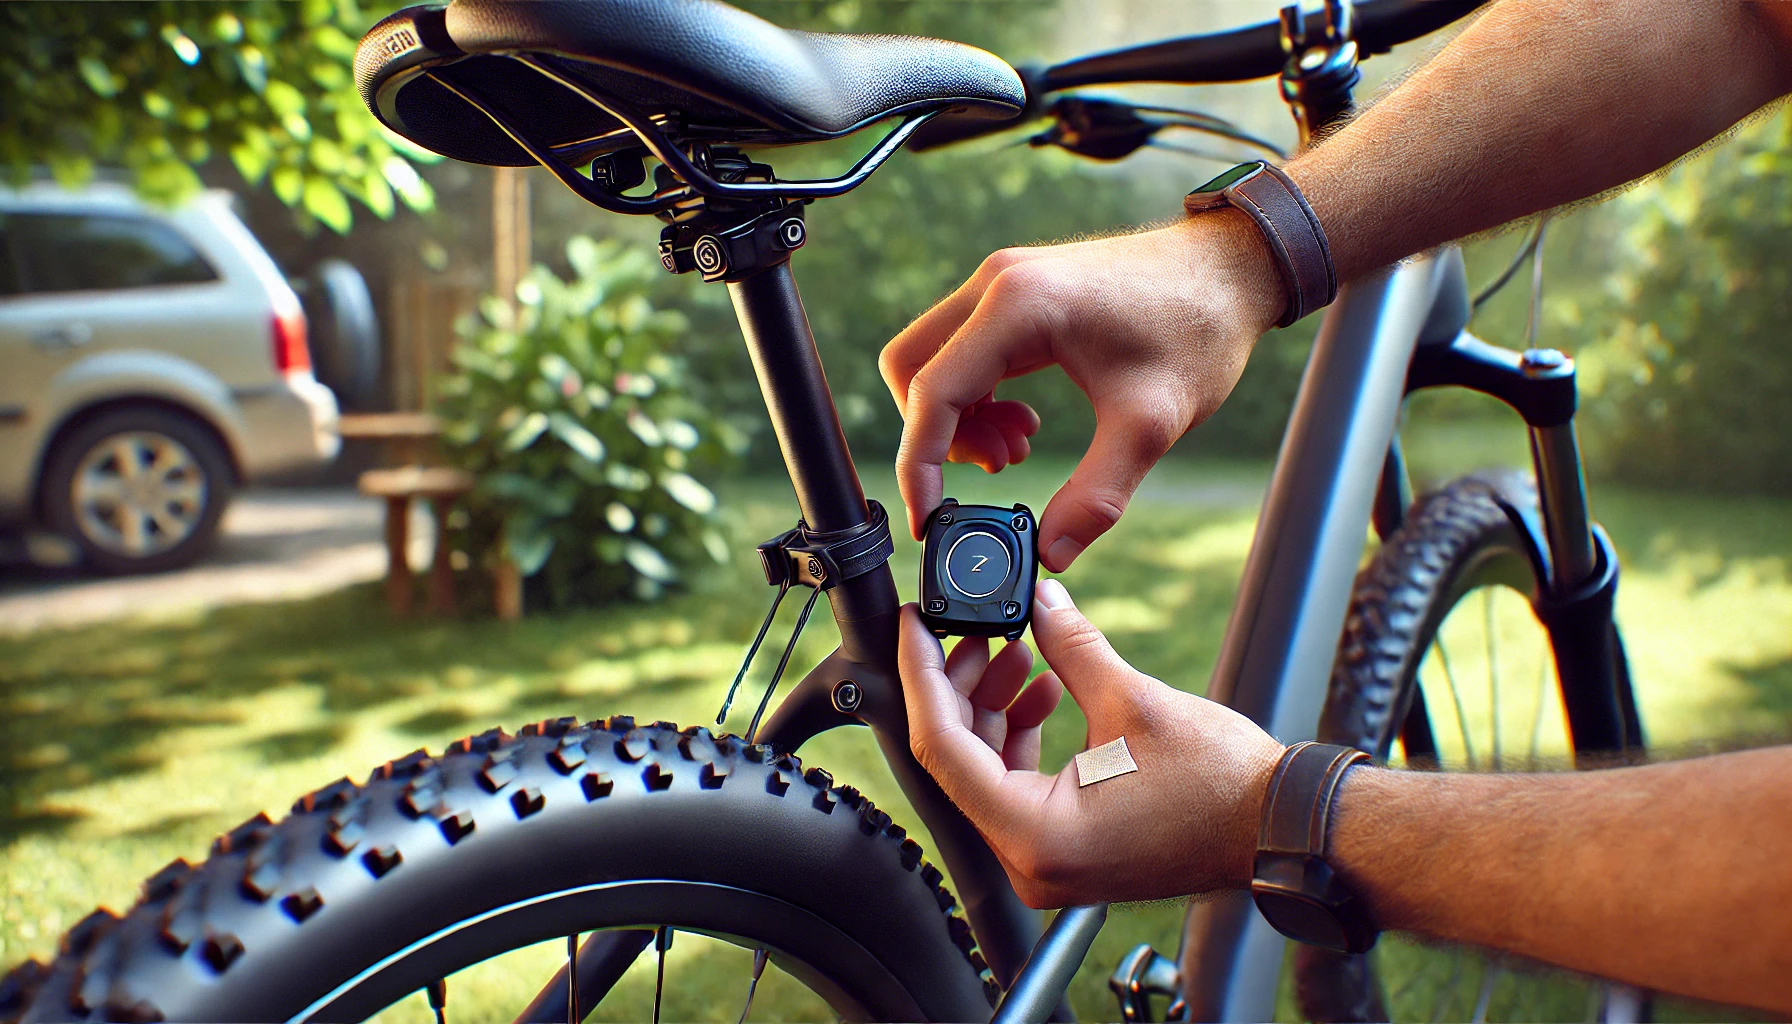
Consider installing a tracker inside the seat tube. You need to remove your bike seat and drop the tracker into the hollow tube. This provides great concealment, but make sure the tracker can still get a signal.
The next option is to hide the tracker in the frame. If your bike’s frame has any compartments or hollow spaces, that’s a perfect hiding spot. You might have to be creative, e.g., hiding the tracker in a water bottle or tool container attached to the frame.
The following point is under the saddle. Mount the tracker under the saddle using Velcro or tape. It’s an inconspicuous spot that most thieves won’t think to check.
You can also consider installing inside a light or reflector. Modify a bike light or reflector to house the GPS tracker. This offers a double layer of camouflage.
Remember, the key here is to be clever, but functional. Think like a thief—where would they never look? How can you blend the tracker seamlessly into your bike?
Step 3: Secure the GPS Tracker
Once you’ve chosen your spot, it’s time to secure the tracker. Use strong double-sided tape, Velcro, or even small zip ties to attach the device firmly in place. You don’t want it rattling around during rides, but you also want to ensure you can remove it for charging or adjustments later.
For extra stealth, use black or dark-colored tape that matches your bike’s frame, making it nearly invisible at a glance.
Step 4: Protect the Tracker
Protecting your tracker from rain, mud, and other environmental factors is crucial. If your tracker isn’t waterproof by design, tuck it into a weather-resistant case or wrap it in a small plastic bag before hiding it. If you’re placing it inside a hollow frame or under the saddle, you may not need as much protection, but it’s always better to be safe than sorry!
Step 5: Power Management
Connect your tracker to its battery pack, ensuring it’s fully charged. Depending on the type of tracker you use, battery life could range from a few days to a few weeks. To keep things powered for longer periods, consider wiring the tracker to a small solar charger, especially if your bike is frequently parked outdoors.
Pro tip: Set a reminder on your phone to check and recharge the tracker’s battery at regular intervals. Even a stealth tracker is useless if it runs out of juice!
Step 6: Test the Whole System
Once everything is in place, perform a final test. Lock your bike somewhere within sight and walk a short distance away with your phone. Use the app to check if the tracker is reporting accurately. If all systems go, you’re ready to hit the road with your new high-tech security measure!
Here's an additional trick: to simulate a real theft scenario, have a friend or family member "steal" your bike while you’re monitoring the app. Make sure they keep to realistic behavior, i.e., moving the bike down the street or into a different part of town and see how quickly you can detect the change in location. This test can reveal any lag in the system’s tracking updates and help you determine if your alert settings are fast enough, as well as give you the chance to experience the tracker in real-world conditions. Due to this method you will be able to get confidence that if the worst happens, you’re prepared to respond quickly.
Final Thoughts
In the fight against bike theft, a hidden GPS tracker is like a guardian angel sitting on your handlebars. With just a few affordable components and a bit of DIY magic, you can transform your trusty bicycle into a stealthy, trackable ride. Despite the fact it’s parked outside your favorite café or left overnight in a busy city, your bike will always be within reach (even if thieves think they’ve made off with it).
So why wait? Get started on your own hidden GPS tracker today, and give yourself the ultimate peace of mind. After all, knowledge is power and now your knowledge might just be the key to let you get the bike back when you need it most.